j-dunham
Jenkins to Actions migrations powered by Valet
These instructions will guide you through configuring a GitHub Codespaces environment that will be used in subsequent labs that demonstrate how to use Valet to migrate Jenkins pipelines to GitHub Actions.
These steps must be completed prior to starting other labs.
Create your own repository for these labs
- Ensure that you have created a repository using the valet-customers/labs as a template.
Configure your codespace
-
Start a new codespace.
- Click the
Codebutton on your repository's landing page. - Click the
Codespacestab. - Click
Create codespaces on mainto create the codespace. - After the codespace has initialized there will be a terminal present.
- Click the
-
Verify the Valet CLI is installed and working. More information on the Valet extension for the official GitHub CLI can be found here.
-
Run the following command in the codespace's terminal:
gh valet version -
Verify the output is similar to below.
$ gh valet version gh version 2.14.3 (2022-07-26) gh valet github/gh-valet v0.1.12 valet-cli unknown -
If
gh valet versiondid not produce similar output, refer to the troubleshooting guide.
-
Bootstrap a Jenkins server
-
Execute the Jenkins setup script that will start a container with a Jenkins server running inside of it. This script should be executed when starting a new codespace or restarting an existing one.
-
Run the following command from the codespace's terminal to start a Jenkins server:
./jenkins/bootstrap/setup.sh -
After some time, a pop-up box should appear with a link to the URL for your Jenkins server.
-
You can also access the URL by going to the
Portstab in your terminal. Right-click the URL listed under theLocal Addressand click theOpen in Browsertab.
-
-
Open the Jenkins server in your browser and use the following credentials to authenticate:
- Username:
admin - Password:
password
- Username:
-
Once authenticated, you should see a Jenkins server with a few predefined pipelines.
Labs for Jenkins
Perform the following labs to learn more about Actions migrations with Valet:
- Configure credentials for Valet
- Perform an audit of a Jenkins server
- Forecast potential build runner usage
- Perform a dry-run migration of a Jenkins pipeline
- Use custom transformers to customize Valet's behavior
- Perform a production migration of a Jenkins pipeline
Troubleshoot the Valet CLI
The CLI extension for Valet can be manually installed by following these steps:
-
Verify you are in the codespace terminal
-
Run this command from within the codespace terminal:
gh extension install github/gh-valet -
Verify the result of the install contains:
$ gh extension install github/gh-valet ✓ Installed extension github/gh-valet -
If you get an error similar to the image below, then click the link in the terminal output to authorize the token.
- Restart the codespace after clicking the link.

- Restart the codespace after clicking the link.
-
Verify Valet CLI extension is installed and working by running the following command from the codespace terminal:
gh valet version
Troubleshooting the Jenkins server
Follow these steps if the Jenkins server does not start correctly after running the setup script:
- On the left side of the codespace, navigate to the
Dockertab. - Under the
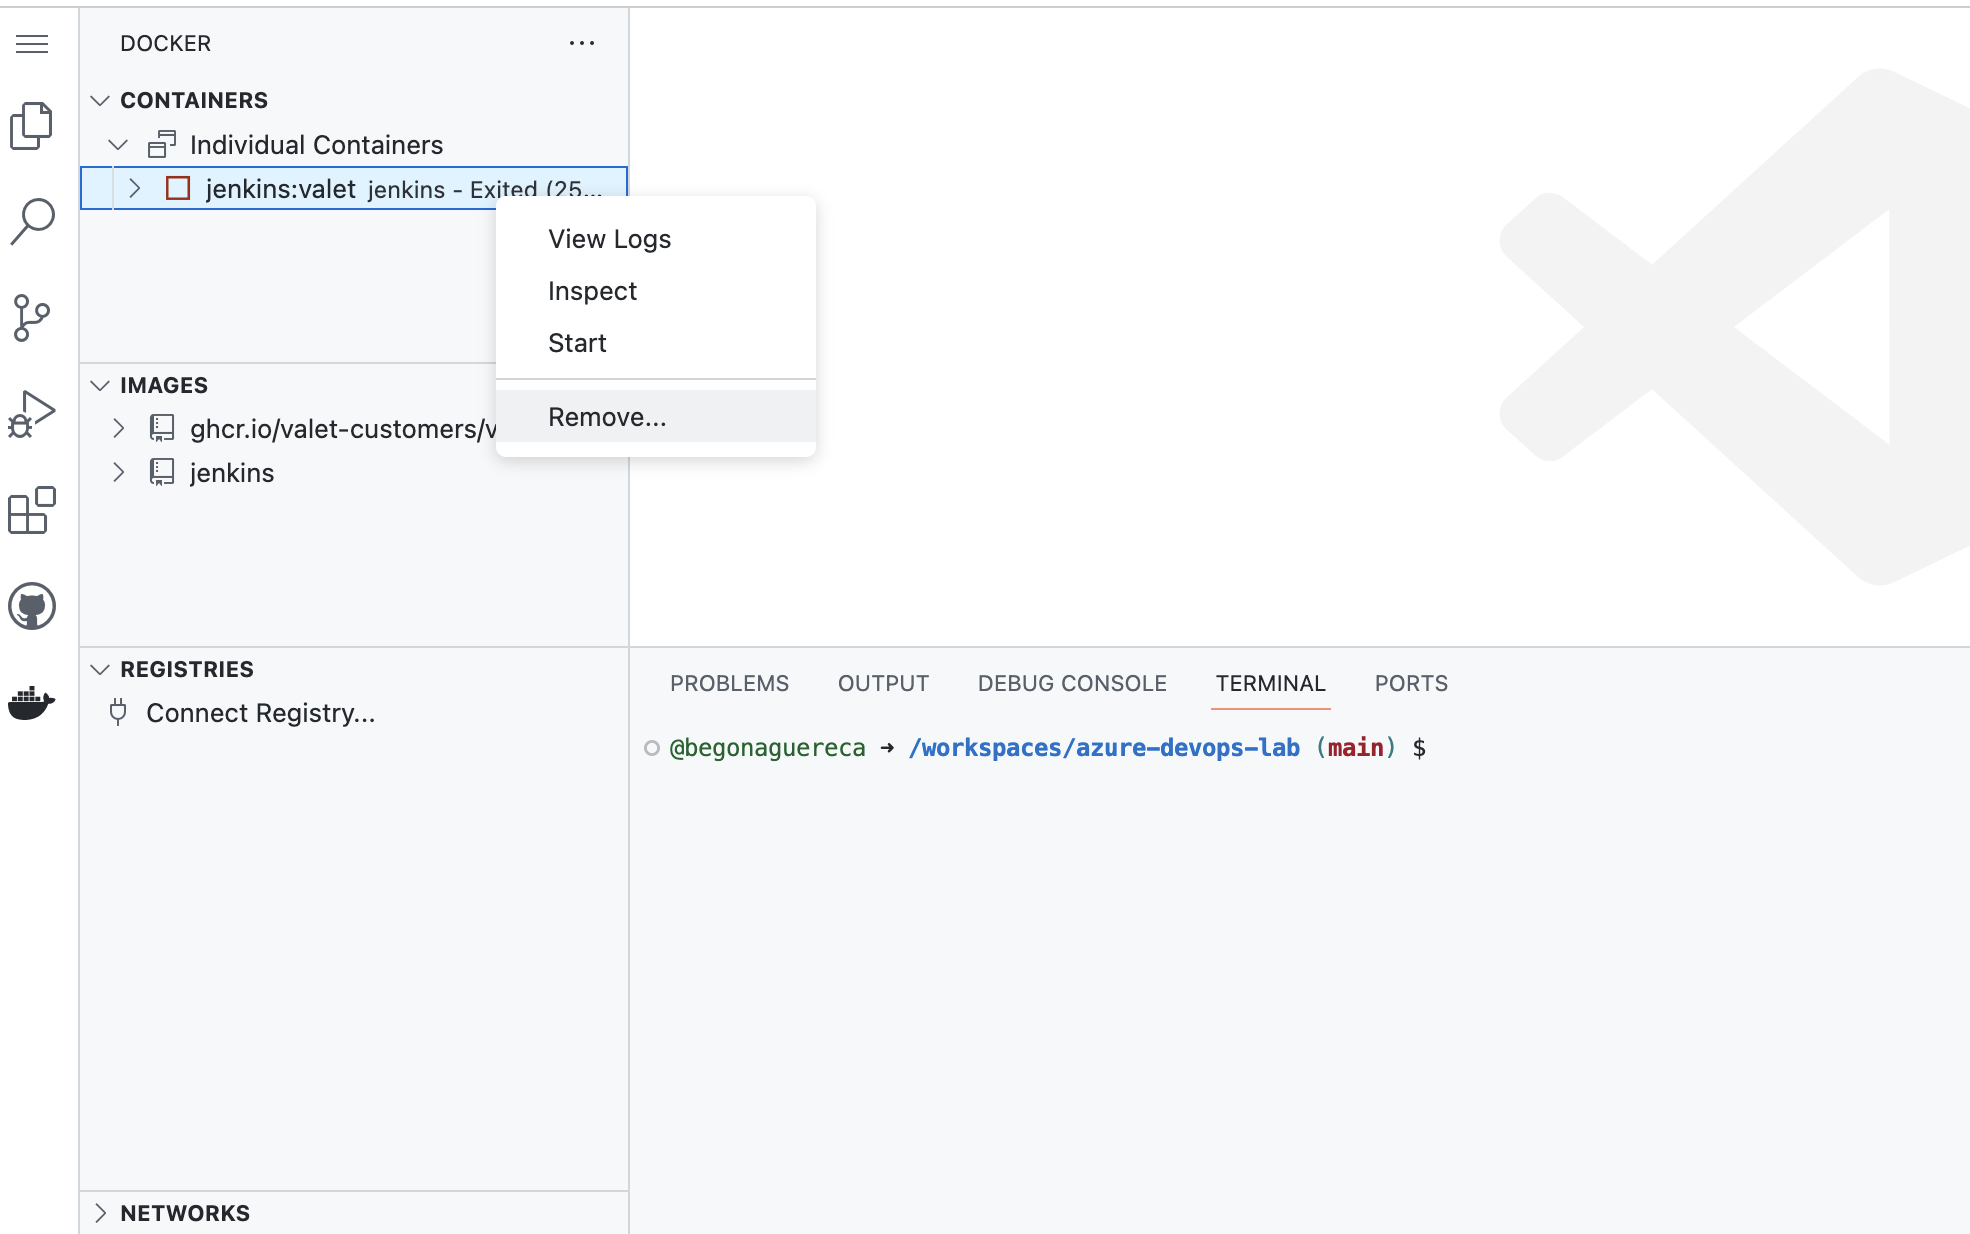
Containerstab you should see a docker container namedjenkins:valetlisted with a green play button ▶
- If you see the
jenkins:valetcontainer, but it has a red stopped symbol next to it ▢, right-click the container and clickstart. The container should begin running again. - If the container does not start even after trying to start it manually, right-click the
jenkins:valetcontainer and click theremovebutton. Then, attempt to start the Jenkins server again by following the steps here.