dkalminandGitHub
38b63d3af5
dkalminandGitHub
38b63d3af5
* Update readme.md

* Update readme.md

* Update readme.md

* Update devcontainer.json

* Update setupcodespace.sh

* Update valet-audit-lab.md

* Update valet-dry-run-lab.md

* Update valet-migrate-lab.md

* Update valet-migrate-custom-lab.md

* Update valet-audit-lab.md

* Update valet-audit-lab.md

* Update valet-dry-run-lab.md

* Update valet-migrate-lab.md

* Update valet-migrate-custom-lab.md

* Update valet-dry-run-lab.md

* Update valet-migrate-custom-lab.md
3.7 KiB
Migrate an Azure DevOps pipeline to GitHub Actions with a custom transformer
In this lab, you will create a custom plugin that transforms some of the existing migration mapping and replaces it with your own mapping. Then use the migrate subcommand to migrate the pipeline. The migrate subcommand can be used to convert a pipeline to its GitHub Actions equivalent and then create a pull request with the contents.
- Prerequisites
- Identify the Azure DevOps pipeline ID to use
- Create a custom transformer
- View the pull request
Prerequisites
- Follow all steps here to set up your environment
- Create or start a codespace in this repository (if not started)
- Complete the Valet audit lab.
- Complete the Valet migrate lab.
Identify the Azure DevOps pipeline ID to use
You will need the valet-mapper-example Azure DevOps pipeline ID to perform the migration
- Go to the
valet/ValetBootstrap/pipelinesfolder - Open the
valet/ValetBootstrap/pipelines/valet-mapper-example.config.jsonfile - Look for the
web - hreflink - At the end of the link is the pipeline ID. Copy or note the ID.
Example

Create a custom transformer
To create a transformer, you need to create a Ruby file that looks as follows:
transform "azuredevopstaskname" do |item|
  # your ruby code here that produces output
end
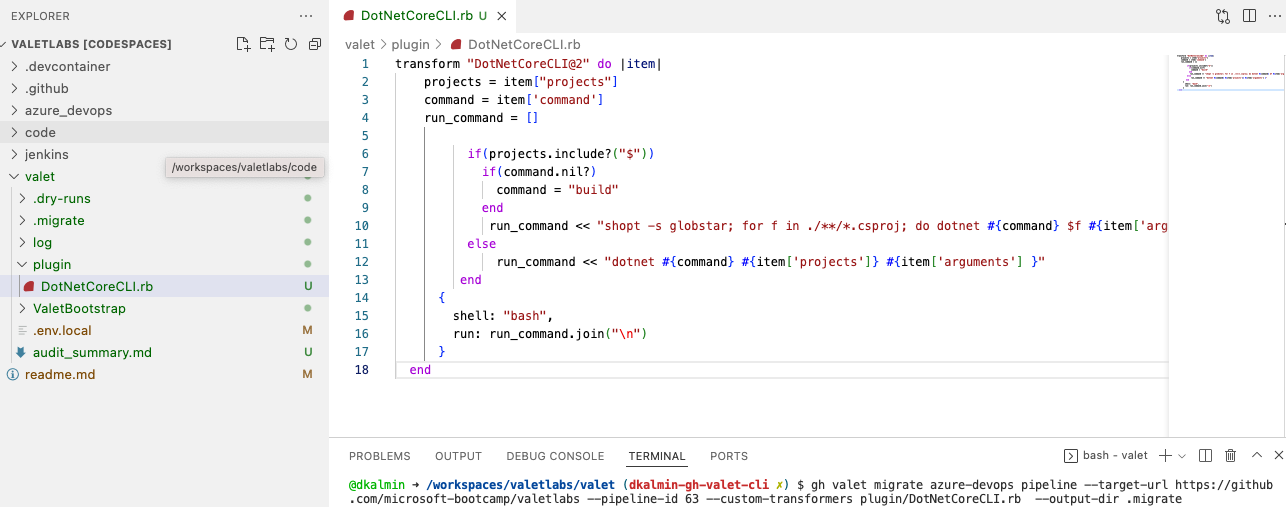
We start by creating a new folder called plugin under the valet folder in your repository. In there create a file called DotNetCoreCLI.rb.
Next change the function name to match the Azure DevOps task name DotNetCoreCLI@2.
The way you find this name is by clicking the view yaml button at a task in the pipeline:
This results in the following code:
transform "DotNetCoreCLI@2" do |item|
  # your ruby code here that produces output
end
The parameter item is a collection of items than contain the properties of the original task that was retrieved from Azure DevOps.
In this case we can see in the yaml that the properties that are set are command and projects.
Add the following code to the ruby file:
transform "DotNetCoreCLI@2" do |item|
  projects = item["projects"]
  command = item["command"]
  run_command = []

  if projects.include?("$")
    command = "build" if command.nil?
    run_command << "shopt -s globstar; for f in ./**/*.csproj; do dotnet #{command} $f #{item['arguments']} ; done"
  else
    run_command << "dotnet #{command} #{item['projects']} #{item['arguments']}"
  end

  {
    shell: "bash",
    run:   run_command.join("\n")
  }
end
Run the migrate command with the transformer again and pass it the custom plugin. Look at the result and see if it results in a successful build.
cd valet
gh valet migrate azure-devops pipeline --target-url https://github.com/GITHUB-ORG/GITHUB-REPO --pipeline-id PIPELINE-ID --custom-transformers plugin/DotNetCoreCLI.rb --output-dir migrate
Now, from the ./valet folder in your repository, run gh valet migrate with the custom transformer to migrate the pipeline to GitHub Actions:
Example
View the pull request
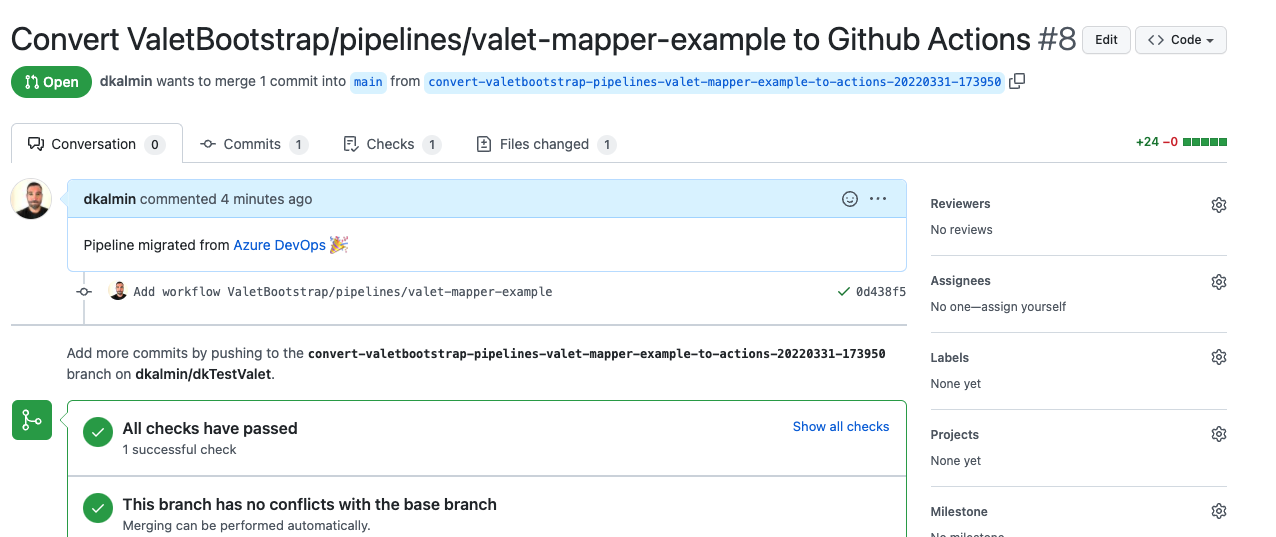
The migrate output will show you the pull request on GitHub. Note here that the checks on the pull request all passed!
Example